
Autumn and Thanksgiving Ornament Decoration
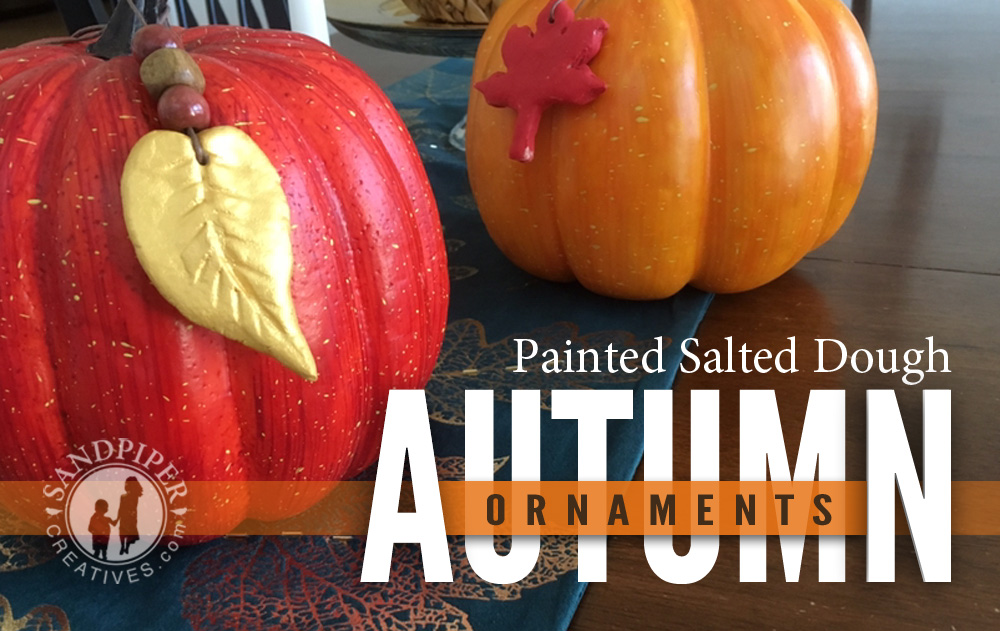
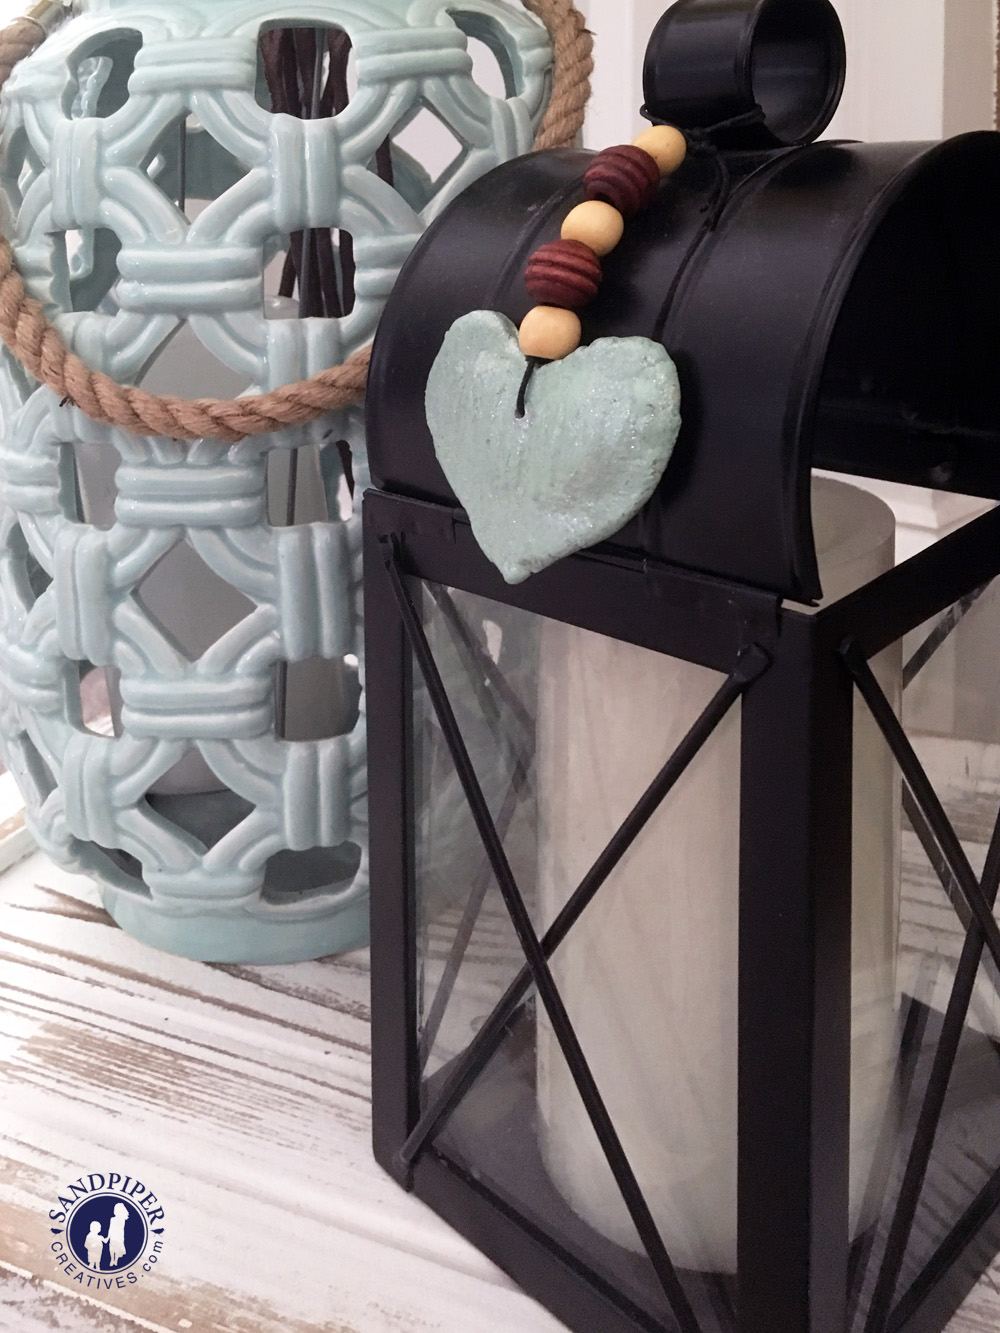
After following the Salt Dough Clay Recipe, we paint our ornaments and then string them and add beads to make a little hanging decoration which adds a little extra touch of autumn to any decor! These ornaments can be enjoyed for years, so they really can be a decorate keepsake of what your sweet child's hands have created. Read the instructions and tips here and also take a look at all the photos for inspiration!
COMPLETE MATERIALS LIST
CLAY (Recipe Below)
- 2 cups All-purpose Flour
- 1/2 cup Salt
- 3/4 cups Water
- Bowl
- Parchment Paper (optional)
- Cookie Cutters (optional
- Toothpick (for poking holes if hanging)
- Oven
- Acrylic Paint (glitter and metallic paints are particularly pretty!)
- Paintbrushes
- Drop Cloth (paper plates, garbage bag, old plastic tablecloth, or whatever you want to use to protect your table or counter!)
- String for hanging
- Beads (optional)

SALT DOUGH CLAY RECIPE
Note: Adjust ingredient amounts if you want to make more or less dough. We half this recipe to make about 10 ornaments of our size and thickness.
Preheat oven to 350 degrees.
Note: Adjust ingredient amounts if you want to make more or less dough. We half this recipe to make about 10 ornaments of our size and thickness.
Preheat oven to 350 degrees.
- 2 cups All-purpose Flour
- 1/2 cup Salt
- 3/4 cups Water
- MIX - Knead ingredients together. Keep working it and the dry ingredients will eventually incorporate.
- SHAPE - Shape clay with hands or cookie cutters. Use flour on counter to help keep dough from sticking. (We like using parchment paper for making and baking.) Writing on the parchment paper is also an easy way to mark which pieces belong to which child. Note: If the dough begins to dry out from excessive playing, add a tiny bit of water to re-hydrate the dough.
- HOLE - Use a toothpick to create a hole (if you plan to hang it).
- BAKE - Place on a cookie sheet and bake in oven at 350 degrees for 20 to 30 minutes. (Keep an eye on the time, because depending on the size and thickness of your "cookies," the time may need to be increased or decreased. They will begin to become golden on the edges, similar to a cookie, when it's time to take them out of the oven.
- DECORATE & STRING - Now you are ready to decorate with acrylic paint and then string with beads, if desired! Glitter paint and metallic paint are fun!


It looks so pretty, and I bet they had lots of fun painting!
ReplyDelete